Published on 2024-11-08
Using GitHub CLI for Efficiency
As developers, efficiency is a constant ask. Reducing repetition and a couple extra mouse clicks during the development process can save precious time and keep the code flowing. The command-line is undeniably a powerful tool in achieving this.
GitHub is just as essential in development, it is often the go-to platform for sharing code, and while the GitHub web interface is great, accessing it via your terminal can be even better.
While GitHub CLI has been around for years, it’s not as widely discussed as it should be. It can, however, perform a wide range of tasks that would usually require stumbling around the GitHub website; like creating and managing repositories, issues, and PRs, managing SSH keys for your account, and much more.
Getting Started
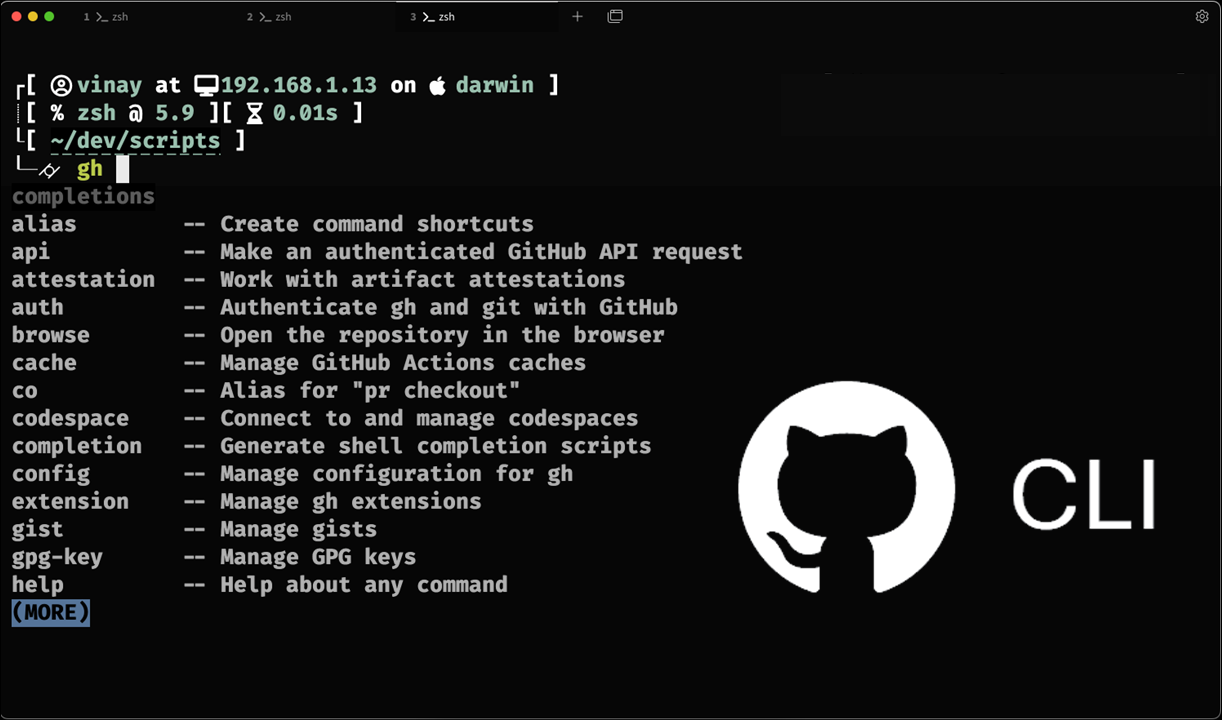
You can install the GitHub CLI using a package manager on the command-line.
For macOS (using Homebrew):
brew install gh
For Windows (using winget):
winget install -h --id GitHub.cli
To start using GitHub CLI, you will have to authenticate it by running the command below and simply following the subsequent prompts. It takes less than a minute.
gh auth login
You can find more detailed instructions in the GitHub CLI documentation.
Creating repositories from the CLI
We’re only scratching the surface of possibilities with this one, but it’s just an introduction to the tool so you can start familiarizing yourself with it.
What would have usually taken you a while to do on the website can be done with a single command using the CLI.
gh repo create my-repo --private --description “This is my repo.”
This command should create an empty, private GitHub repository with the name “my-repo” and the entered description. You can also do this interactively by simply running:
gh repo create
Automation
Another benefit of using the command-line is automation. Here’s an example script that creates a local git repository, commits all changes, then creates and pushes to a remote repository. You can utilize command-line arguments to customize parameters at runtime.
#!/usr/bin/env bash

VISIBILITY="${1:-private}"
DESC="${2:-}"
TITLE="${3:-$(basename $PWD)}"

if [[! -d "./.git"]]; then
git init
fi

if [[-n $(git status --porcelain)]]; then
git add .
git commit
fi

if ! gh auth status &>/dev/null; then
gh auth login
fi

gh repo create "$TITLE" --"$VISIBILITY" --description "$DESC" --source=. --remote=origin –push
You can find a more detailed version of the script in this gist.
Conclusion
While it may seem annoying to learn and get used to yet another command-line tool, writing just a few shell scripts and creating aliases for them to pull up in any project you’re working on takes minimal setup and can make your future development experience a lot smoother.